

Intro: Salesforce Flow Builder

Flow Builder is definitely my favorite Salesforce tool of all time!
First, it has a super friendly user interface. You simply click and drag elements onto a canvas to design your flow.
Second, it requires no coding skills so it makes automation easy to deploy, maintain, and manage.
Put it all together and Flow Builder is the most powerful out-of-the-box Salesforce automation tool available to admins.
So, if you’re just starting out with Flow Builder, I’m glad you found Flowsome! By the time you familiarize yourself with its key features and intuitive interface, I have no doubt you’ll become its next happy convert.
To start, let’s dive right into a basic overview of Flow Builder.
Flow Builder Overview
If you have an admin profile, go to Setup > Search for Flow > Click New Flow in the upper right corner > Choose the flow type which opens up Flow Builder.
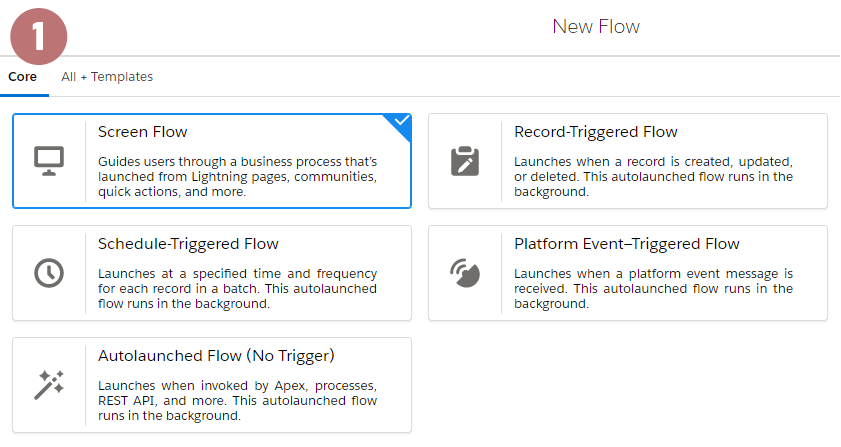
1. Flow Type
There are five types of flows. You need to select the appropriate flow type based on the automation solution you’re trying to create. The five types are:
- Screen Flow
- Record-Triggered Flow
- Autolaunched Flow (No Trigger)
- Schedule-Triggered Flow
- Platform Event-Triggered Flow
You’ll find a brief description of each listed beneath its name on the screen. In most cases, you’ll likely be choosing between the first three (especially as a beginner). Check out How To Use Different Type of Flows for a deep dive into the 5 flow types.
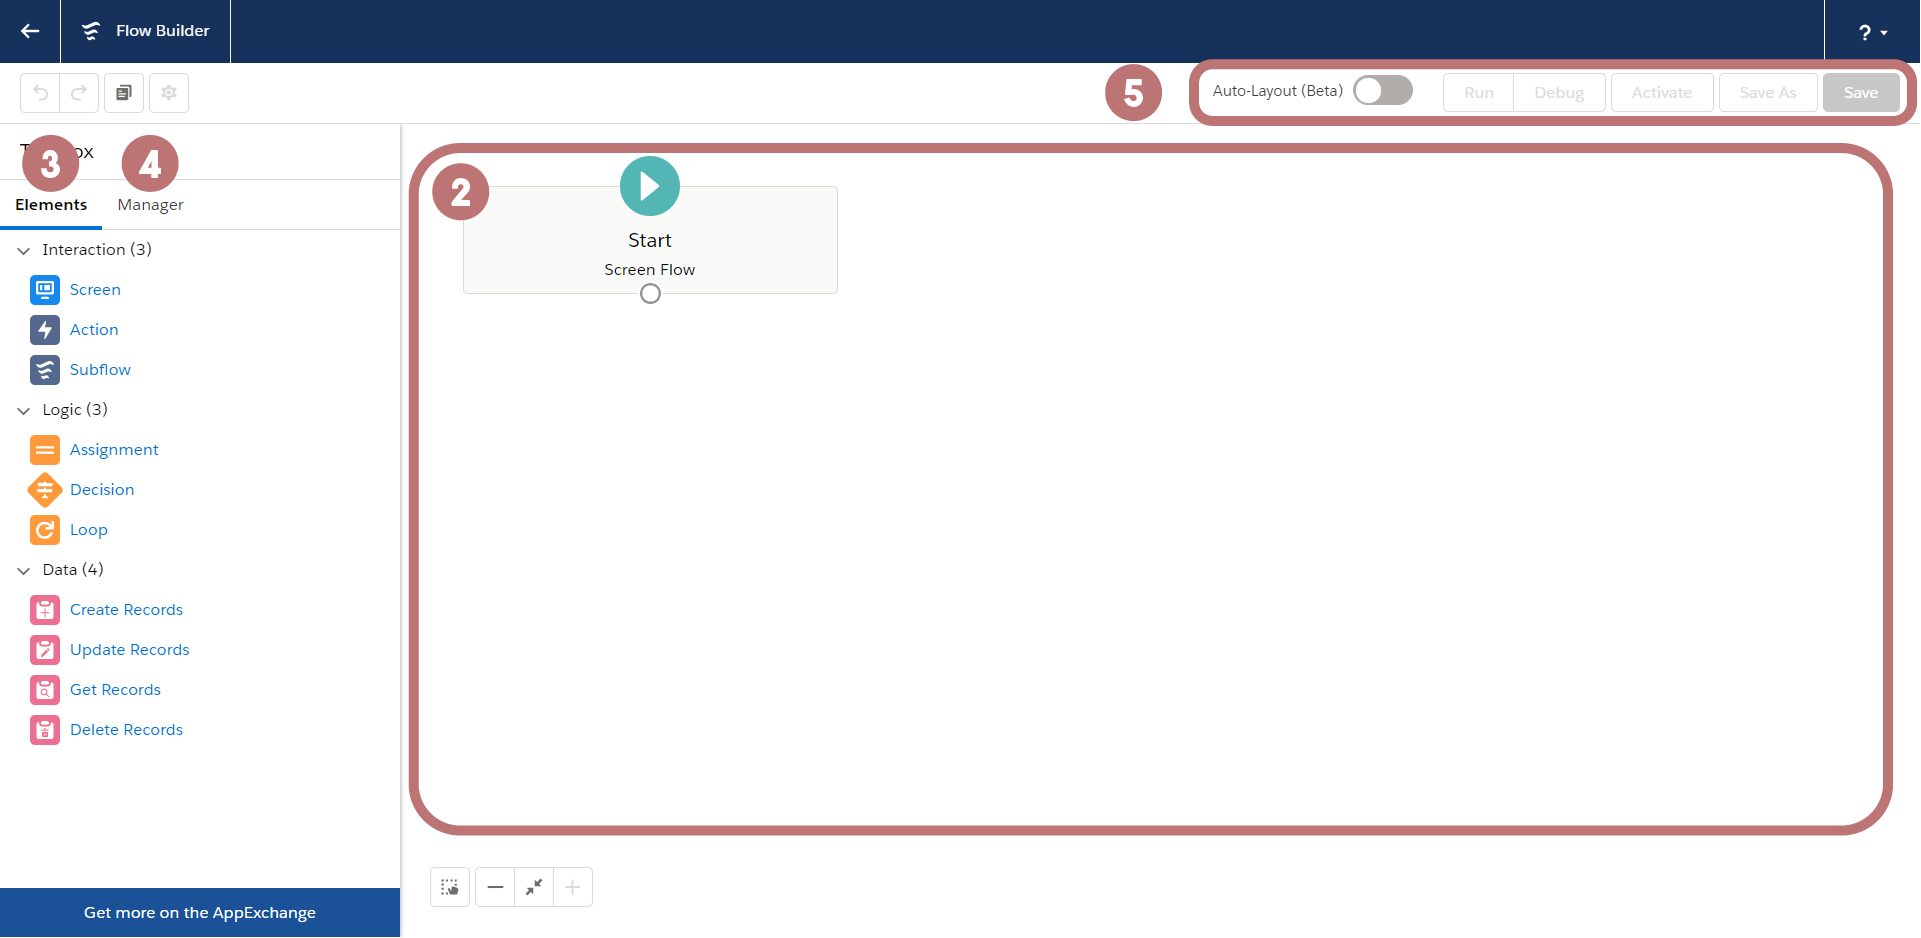
2. Canvas
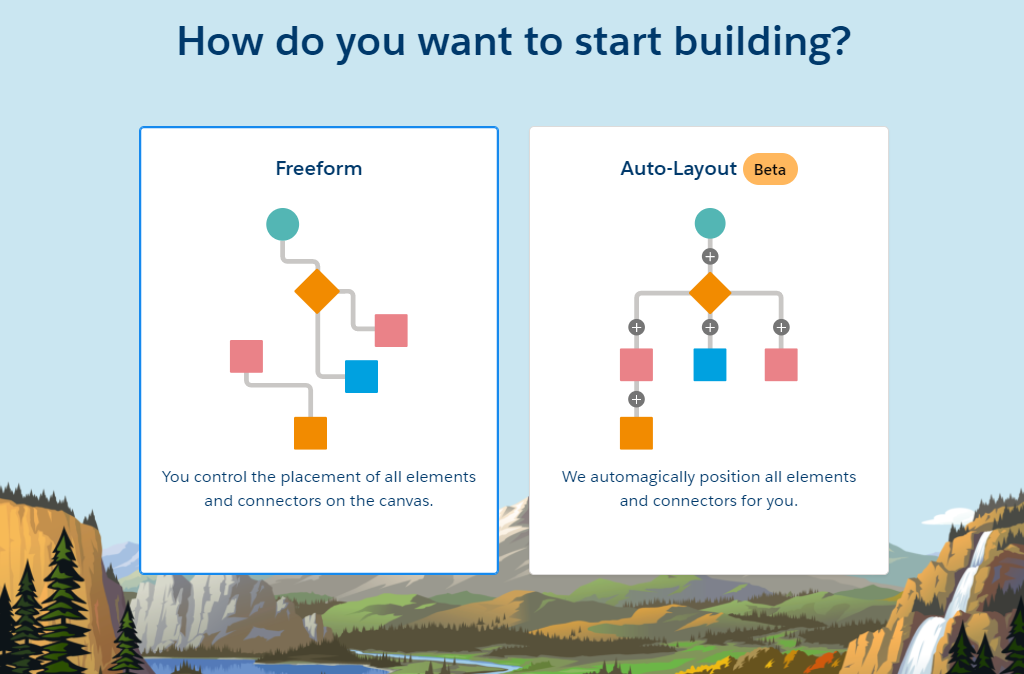
Just like an artist, the canvas is where you design and visualize your flow. There are two layouts available: freeform or auto-layout.
Freeform provides more flexibility on the canvas. Auto-layout provides a more structured experience which is recommended for beginners.
3. Elements
Under your Toolbox, you’ll find Elements. These are the building blocks to create each step of your flow on the canvas. Be aware that the flow type determines which elements are available in your Toolbox.
There are three main types of elements: Interaction, Logic, and Data.
Interaction elements are used to interact with users, data within the instance, and data across different systems.
Logic elements serve as math operators. These elements only control actions inside your flow and have no direct impact on your data.
Data elements are used to modify your actual database (such as a field on a record).
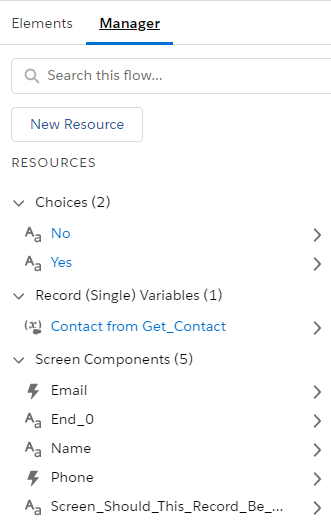
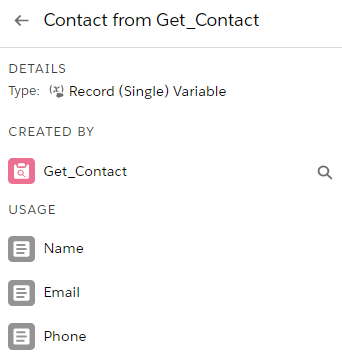
4. Manager
In your Toolbox, you’ll also find the Manager tab. This consists of all the elements and resources found in your flow. By clicking on each resource, you can also see the relationship between them and the flow.
5. Button Bar
Here shows all the important information or actions to your flow. Whether the flow is active, saved, or has any errors or warnings. You can debug your flow here which opens a debug window. If you have an autolaunched flow, you can even debug right here on the canvas.
So, that’s a quick overview of Flow Builder. Very intuitive don’t you think? But I bet you might be wondering how it compares to Workflow Rules, Process Builder, and Apex. If so, head to Intro: Comparison of Salesforce Automation Tools.
Also, check out the How-To section if you want to learn more about how each element works, or dive into the Use Case section to see how I build flows.
If you really want to solve a problem with flow but don’t know where to start, leave the comments below or send it here and we will build it for you!
Let’s have a FLOWSOME day!
Official Salesforce Help Article On Flow